Today is Amy’s birthday – which means that I’ve been helping the kids with present making.
Grace’s idea for a homemade birthday card was particularly geeky, so I thought it was worth a quick post.
The idea was that she’d design an e-card, and record a variety of voice clips, which would be played when you clicked on various bits of the card. She did after-school French lessons last term, and she hears some Greek from my mum, so she’s kind of interested in the idea of other languages. So we came up with the idea of a card with a Happy Birthday message in lots of different languages.
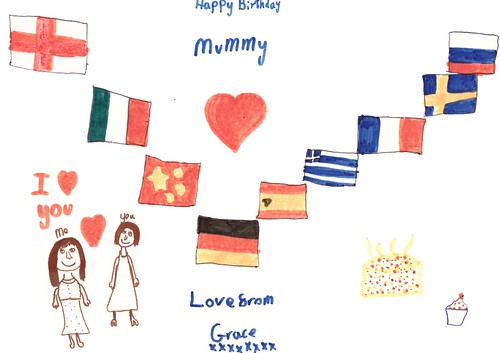
It turned out that my multi-lingual efforts to assist her were a bit lame, so I convinced her to scale it down from “Happy Birthday” in dozens of languages to “I love you” in nine langauges. We settled on a design with a bunch of flags – clicking on a flag plays Grace’s voice saying “I love you” in that language.
It looked like this, but click through here for the live version.
It was pretty simple, but I thought I’d share a few comments about how we did it.
The voice clips were recorded using audacity – which also handled exporting it to the various formats (ogg, mp3, wav) to keep various browsers happy.
Forvo was invaluable with getting the pronunciation right (ish). You can find audio clips of words in loads of languages, recorded by several different speakers. For example, we found a page with two recordings of the Swedish for “I love you”. Grace listened to these several times before recording her own. It’s a very neat little site – both in the community-driven way that the pronunciations are recorded, as well as the way the page is implemented with neat inline play buttons that just worked.
Grace’s original idea for the card involved making a proper web page, with animated bits moving around. Again… I had to convince her to scale it down – she’s only six, so I wasn’t sure she’d pick up enough web dev skills in time for Amy’s birthday! 🙂
We settled on her drawing her design for the card on paper, then I scanned it in as a large graphic, and used an HTML image map to identify the flags and make them clickable.
Playing the sound recordings is ridiculously easy now in the age of HTML5. (Remember, that we didn’t need to support a wide range of browsers – we needed something that would work on Amy’s computer, so it’s a pretty narrow target.)
Each audio recording was defined like this:
<audio id="english" preload="auto">
    <source src="sounds/english.ogg" type="audio/ogg"/>
    <source src="sounds/english.mp3" type="audio/mpeg" />
</audio>
Between ogg and mp3 files, that covers the bases for most recent browsers – a browser should just use the first one in the list that it can cope with.
Then you can play it with a little bit of JavaScript:
document.getElementById("english").play();
Finally, so that Amy could keep a copy of it on her computer without needing to be online, I used offline storage.
This means starting the web page with:
<!DOCTYPE HTML>
<html manifest="cache.manifest">
And creating a cache.manifest file with a list of all the files that are used in the page.
That was pretty much it. Grace enjoyed making it. She’s clearly turning into a massive geek, but at least she’s a creative geek.
Fantastic idea (and top marks for execution too!)
What a fantastic idea – and a great demonstration of HTML5 too. Top work from you both… 🙂